Using TelemetryConsole#
TelemetryConsole is a graphical listener for Constellation. This tutorial demonstrates how to use TelemetryConsole to receive metrics message from multiple satellites and visualize them.
See also
It is recommend to read through the tutorial on how to use MissionControl first.
Starting TelemetryConsole#
TelemetryConsole is started using the TelemetryConsole command or by searching for it in the application overview if
installed system-wide. On startup, the group name of the Constellation which should be controlled needs to be provided.
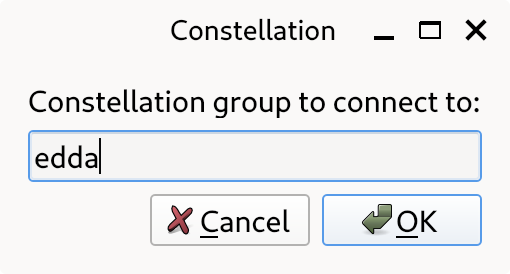
TelemetryConsole startup window#
Hint
Alternatively, TelemetryConsole can be started with a group directly using the -g GROUP command line argument.
The main window of TelemetryConsole can be divided into three parts:
A section to add new visualizations on the top
A section to organize, reset and clear the dashboard on the top right
The dashboard, displaying the metric visualizations
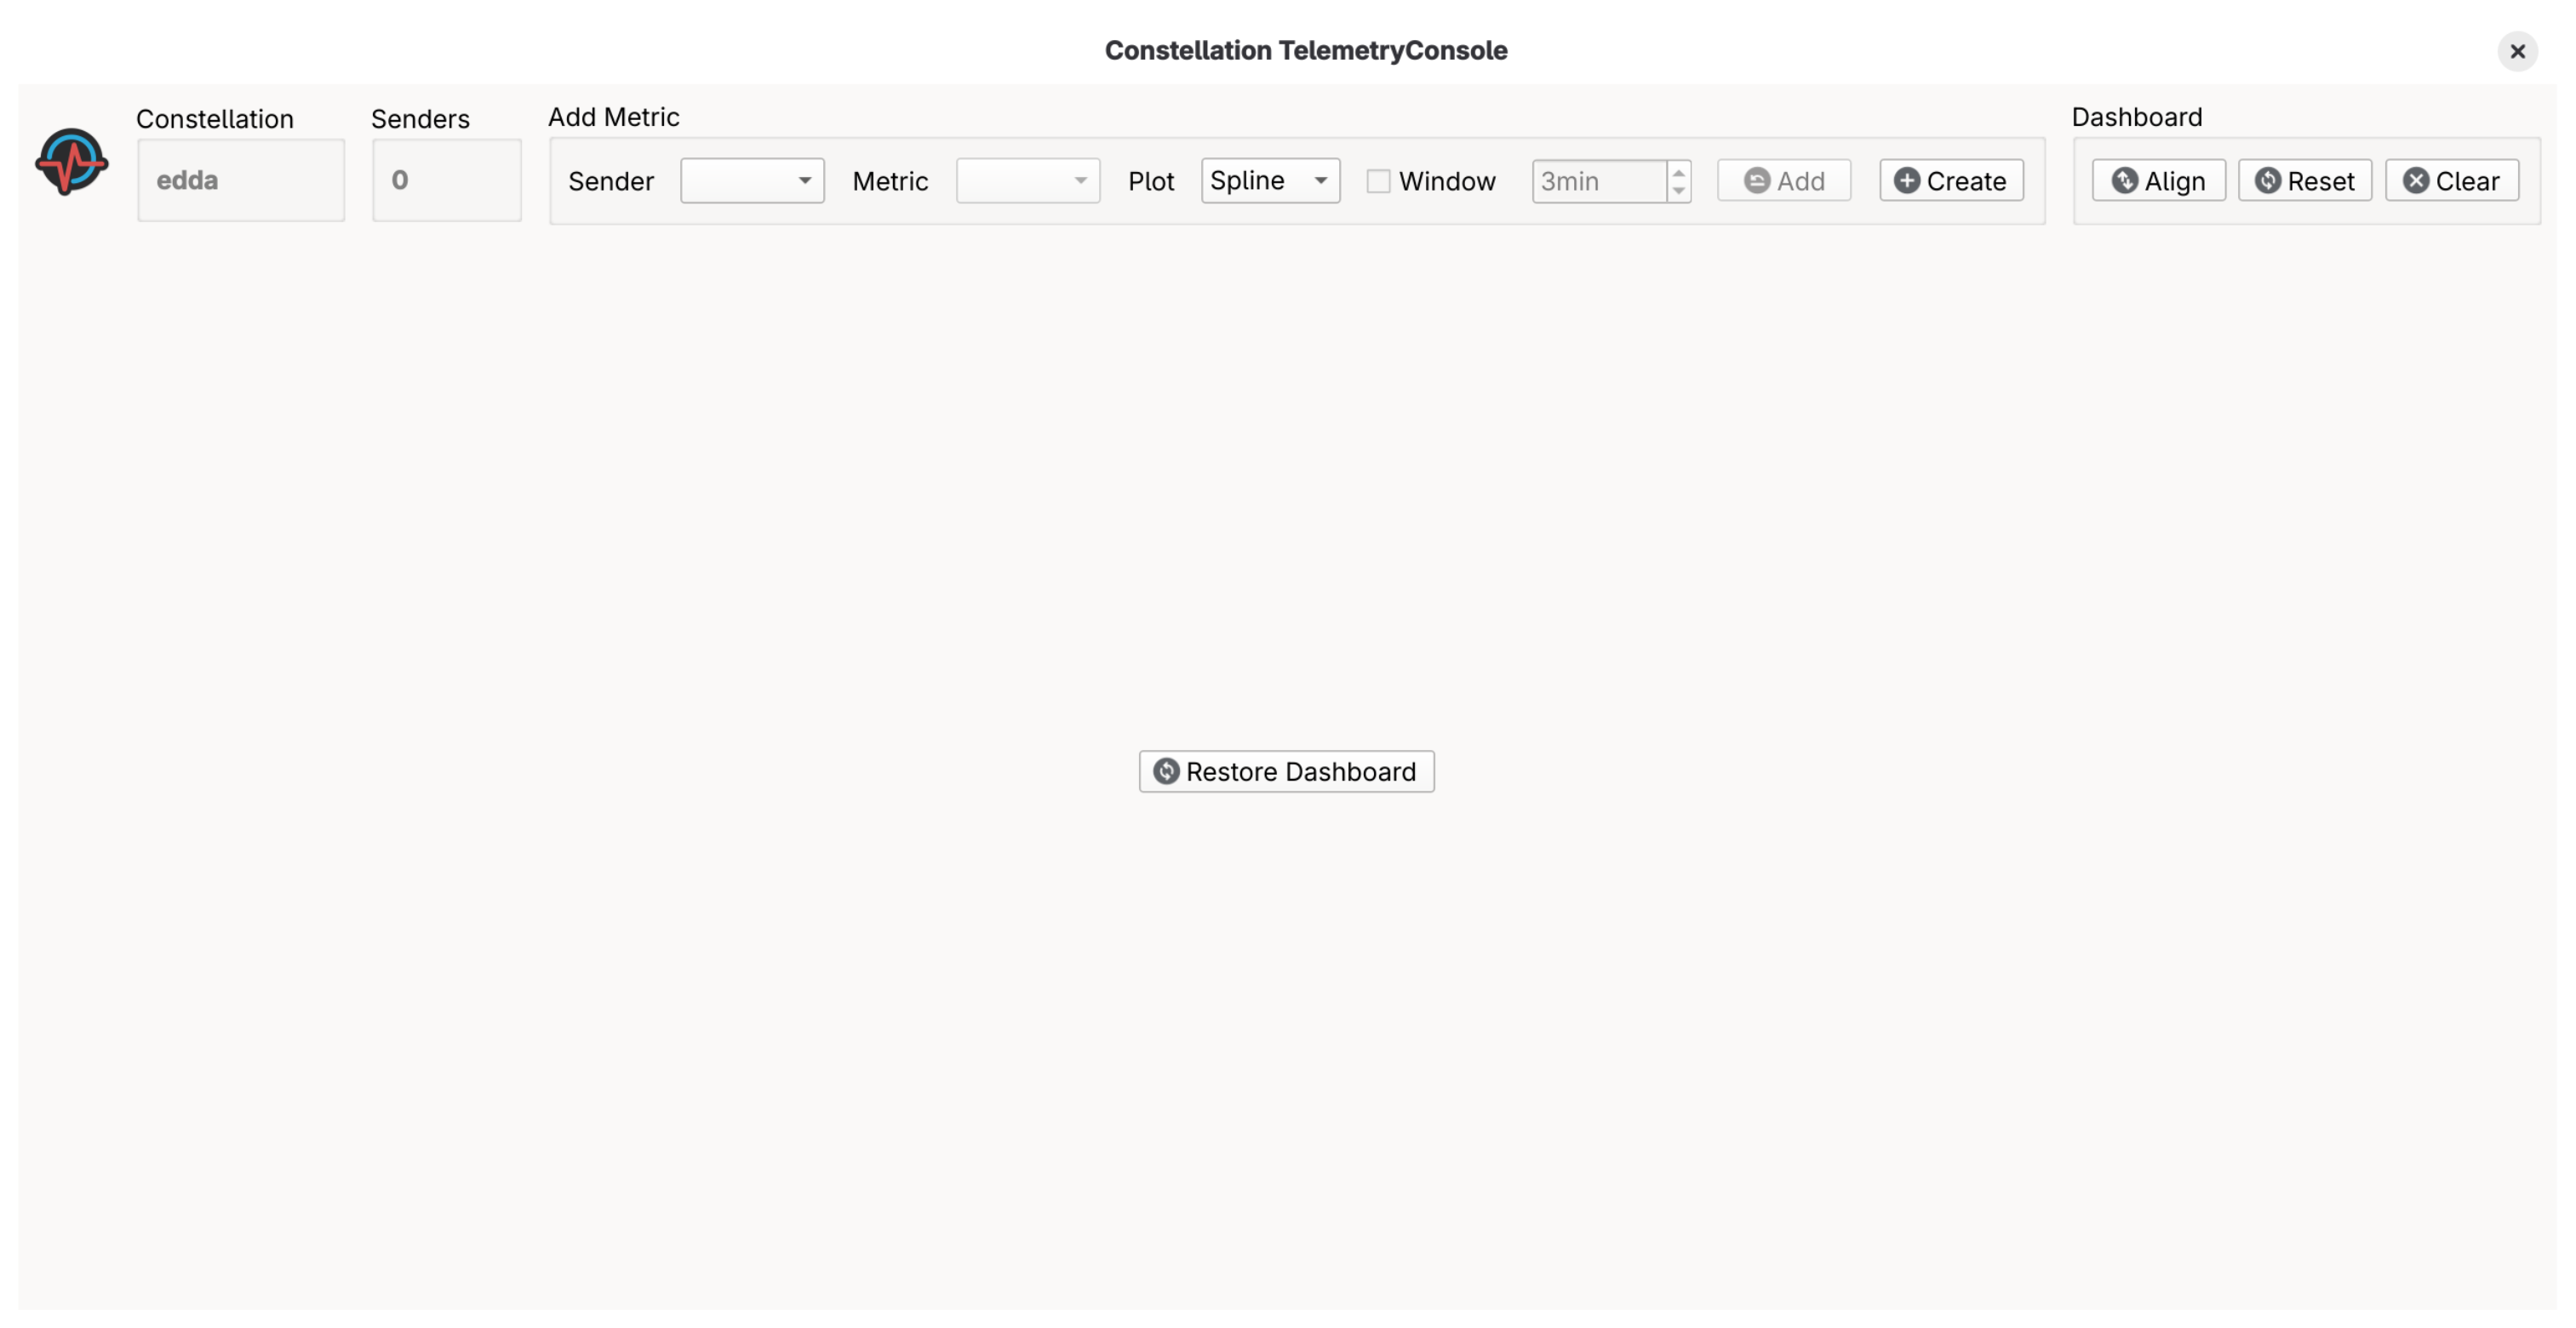
TelemetryConsole main window without any metrics#
Initializing the Constellation#
In this tutorial, two Sputnik satellites named One and Two are started and initialized.
To initialize the satellites, MissionControl can be used with the following configuration file:
[Sputnik.One]

[Sputnik.Two]
After the satellites have been started and initialized, they can be selected as sender in TelemetryConsole.
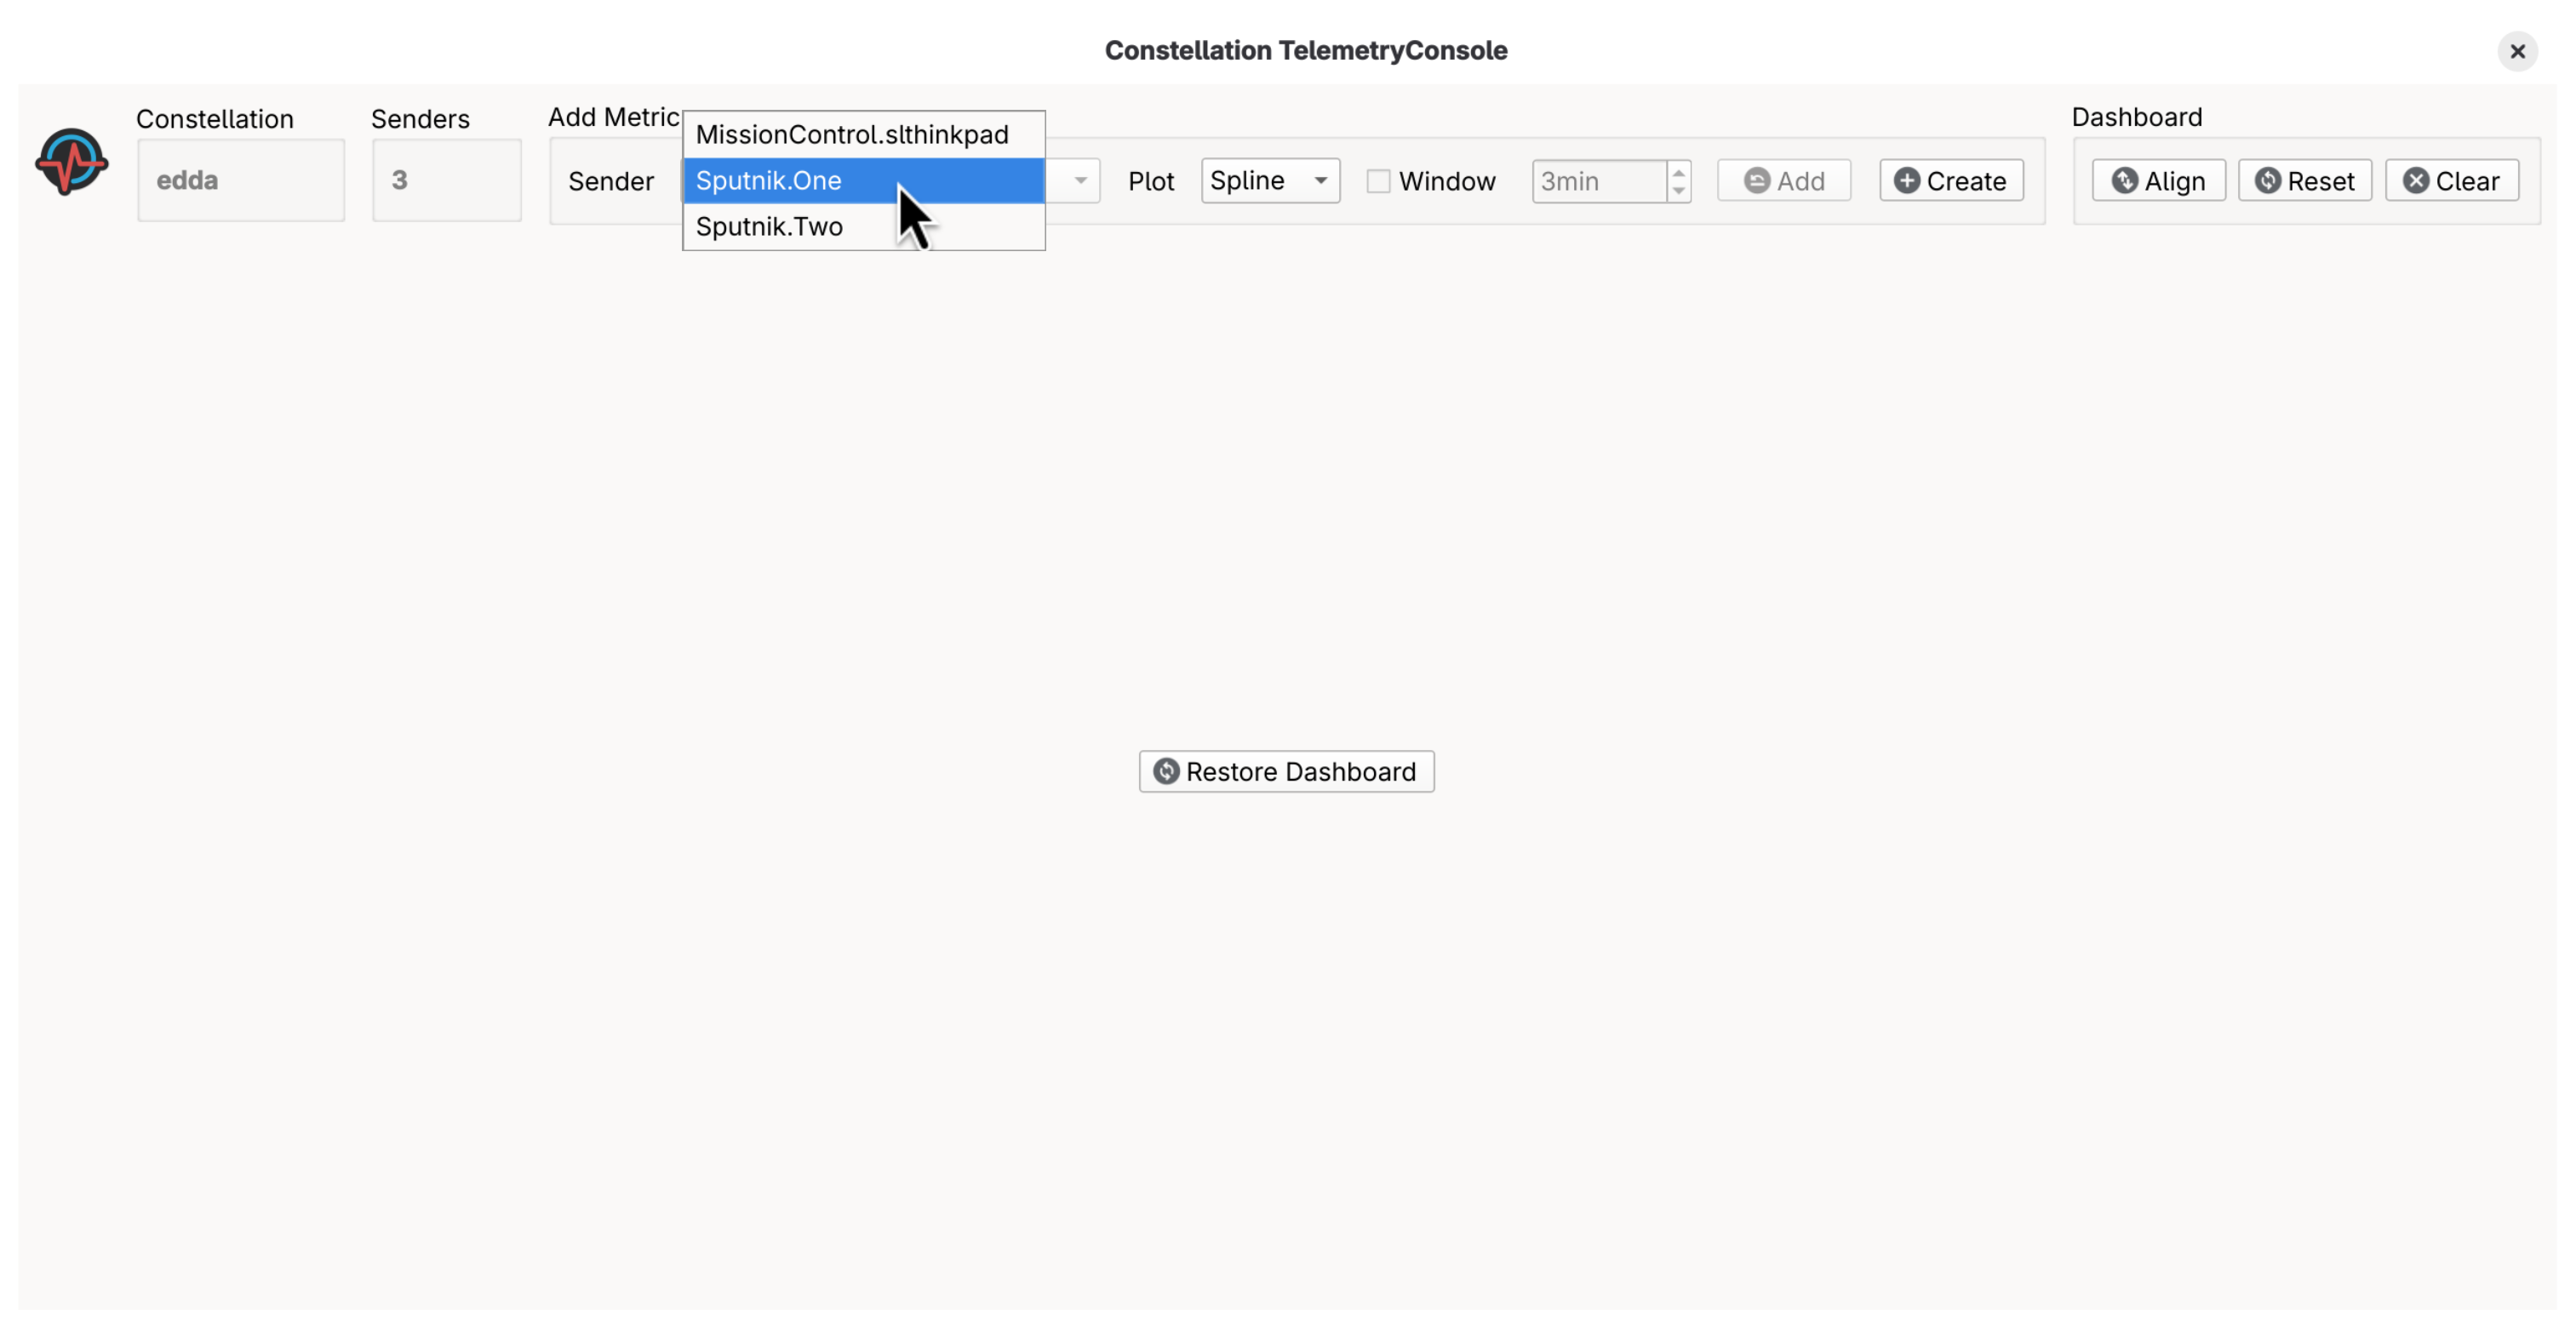
TelemetryConsole main window while selecting a sender#
Adding Visualizations#
To add a visualization, a sender and a metric from that sender needs to be selected.
On the right side, different plotting styles and a sliding time window can be selected.
In this case a visualization for the TEMPERATURE metric from Sputnik.One is added as a spline plot with a 5min time window.
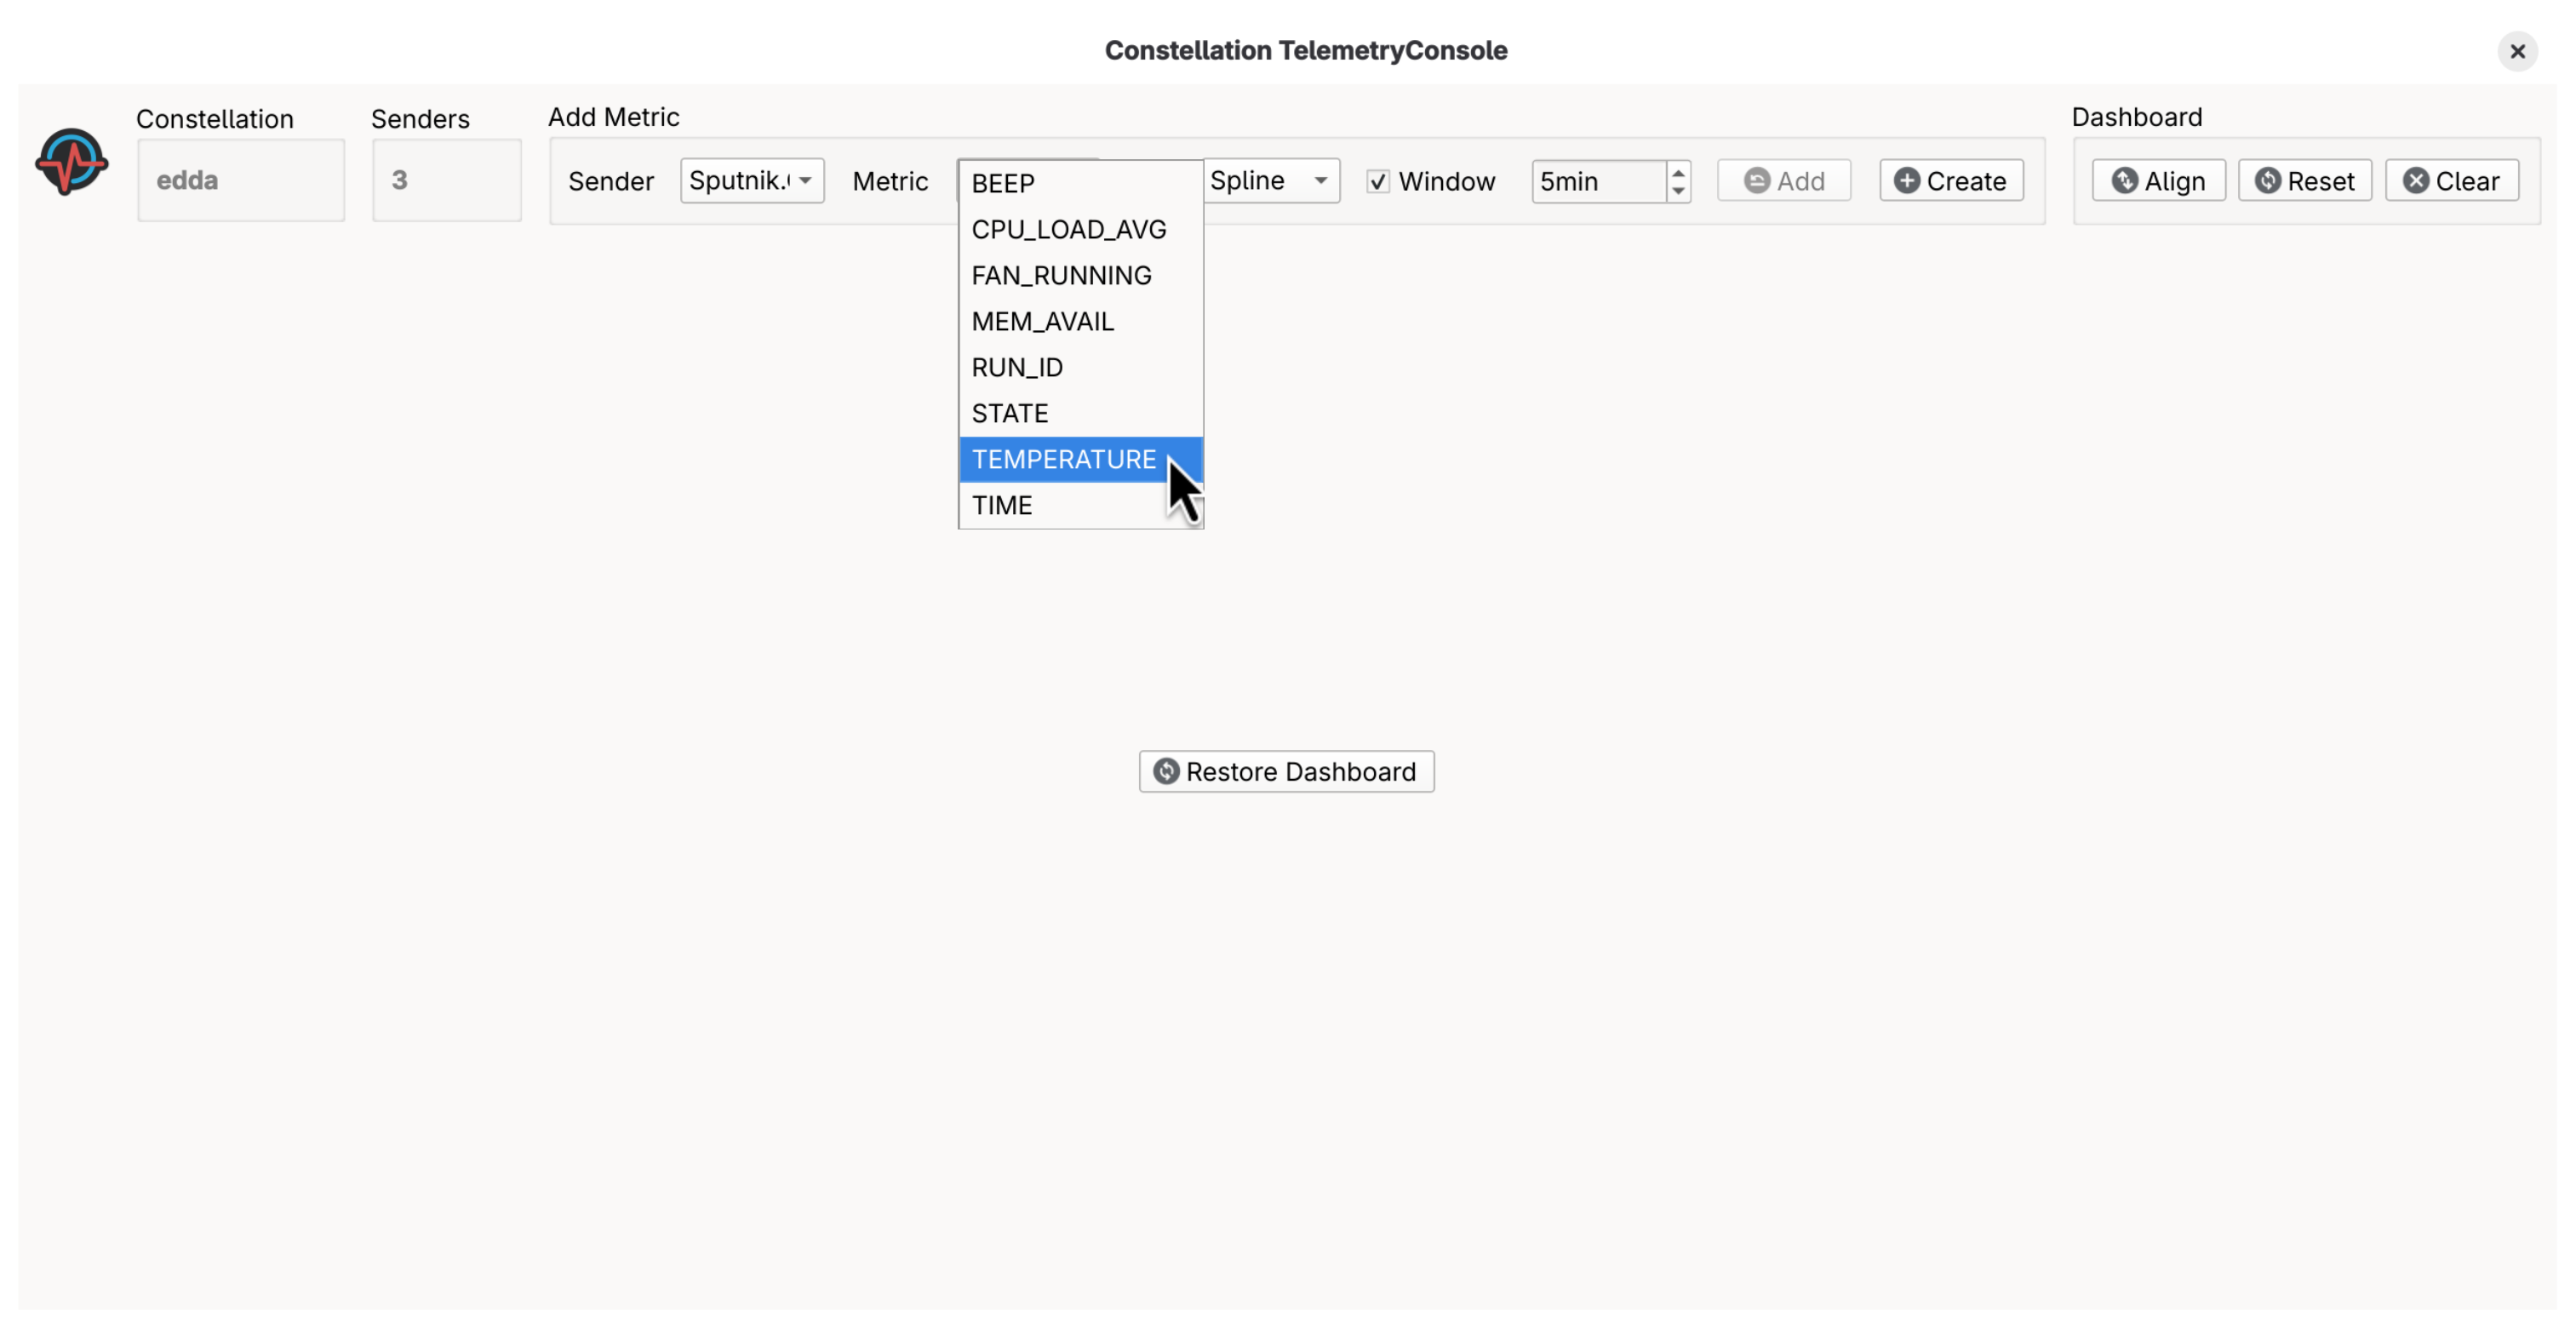
TelemetryConsole main window while selecting a metric#
The Sputnik satellites send some metrics only in the RUN state, so they need to be launched and started in order for telemetry data to appear.
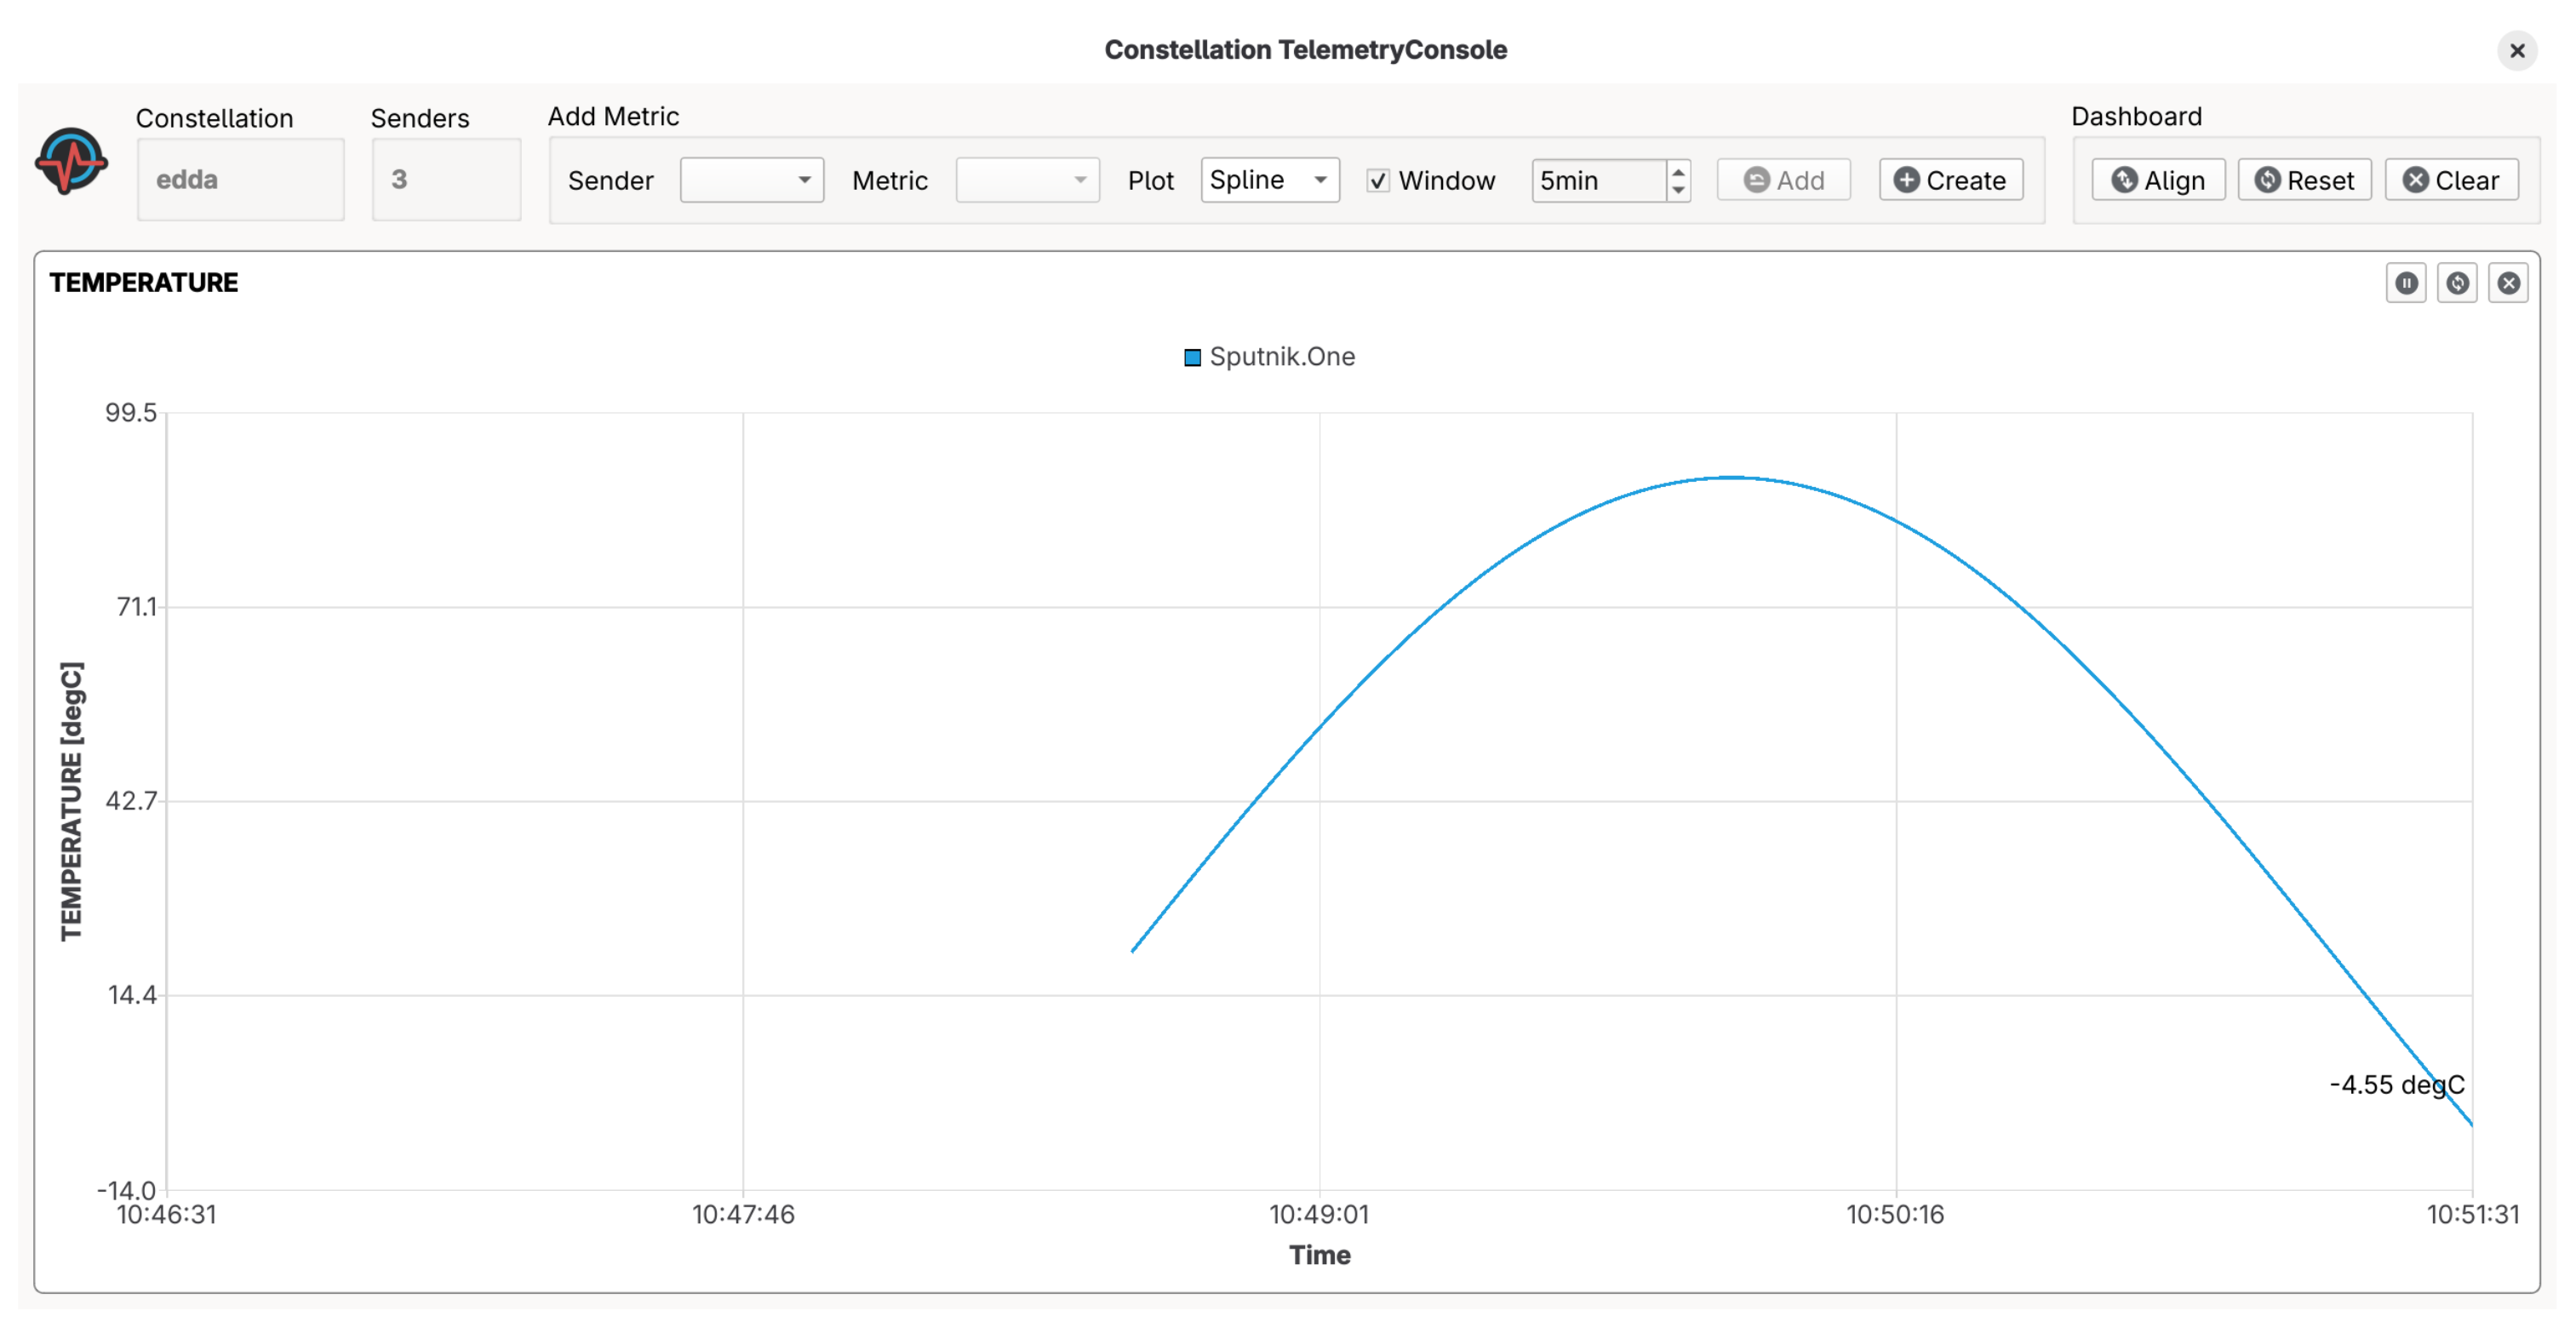
TelemetryConsole main window with a single visualization#
Important
Telemetry data in TelemetryConsole is not persistent and is lost after the window is closed. For advanced visualizations and long term storage of telemetry data, InfluxDB and Grafana are recommended.
Multiple visualizations can be added and adjusted in size. Metrics from different satellites with the same name can be added to the same visualization using the Add button.
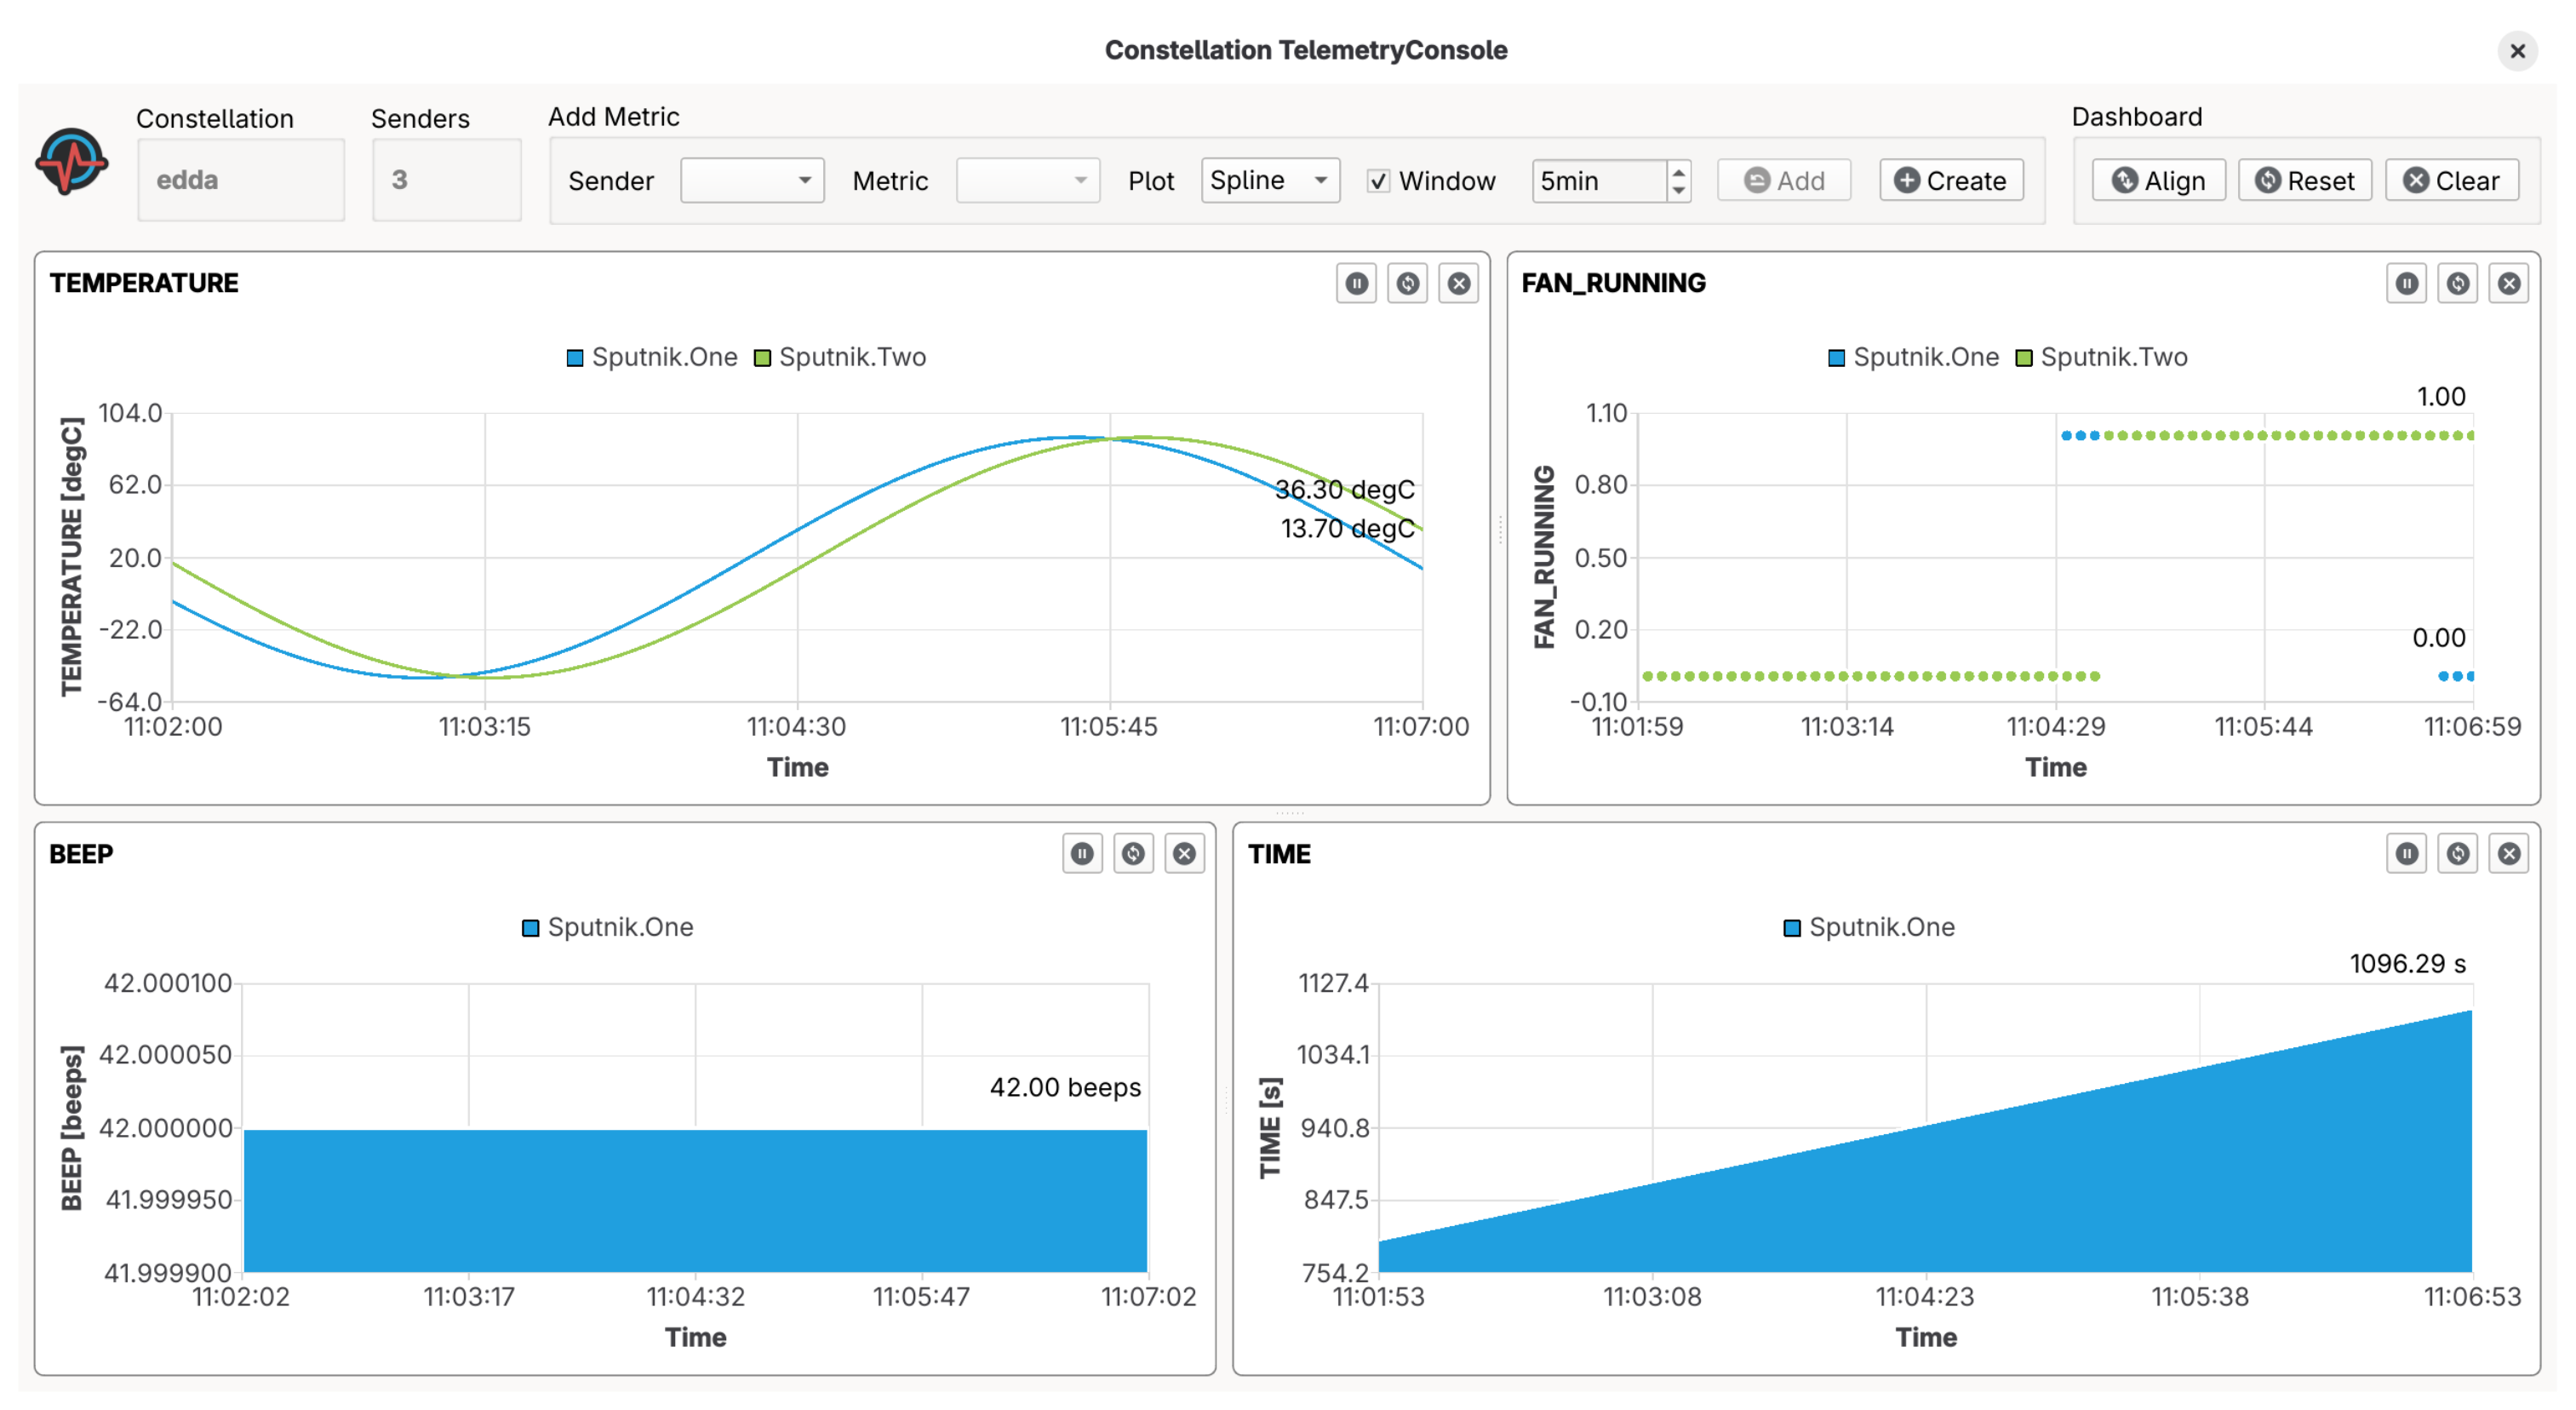
TelemetryConsole main window with multiple visualizations#
Resetting The Dashboard#
On the top right of the application window, the Align button can be used to reset the alignment of the visualizations after their size have been changed. The Reset button can be used to reset the data from all visualizations and the Clear button to clear the dashboard and remove all visualizations.
Upon closing the TelemetryConsole, the current dashboard configuration is stored. When re-opening the program, the restore Dashboard button allows to load and restore this set of visualizations.